Website: Sanwood
Language:
English

Two-Zone Thermal Shock Test Chamber

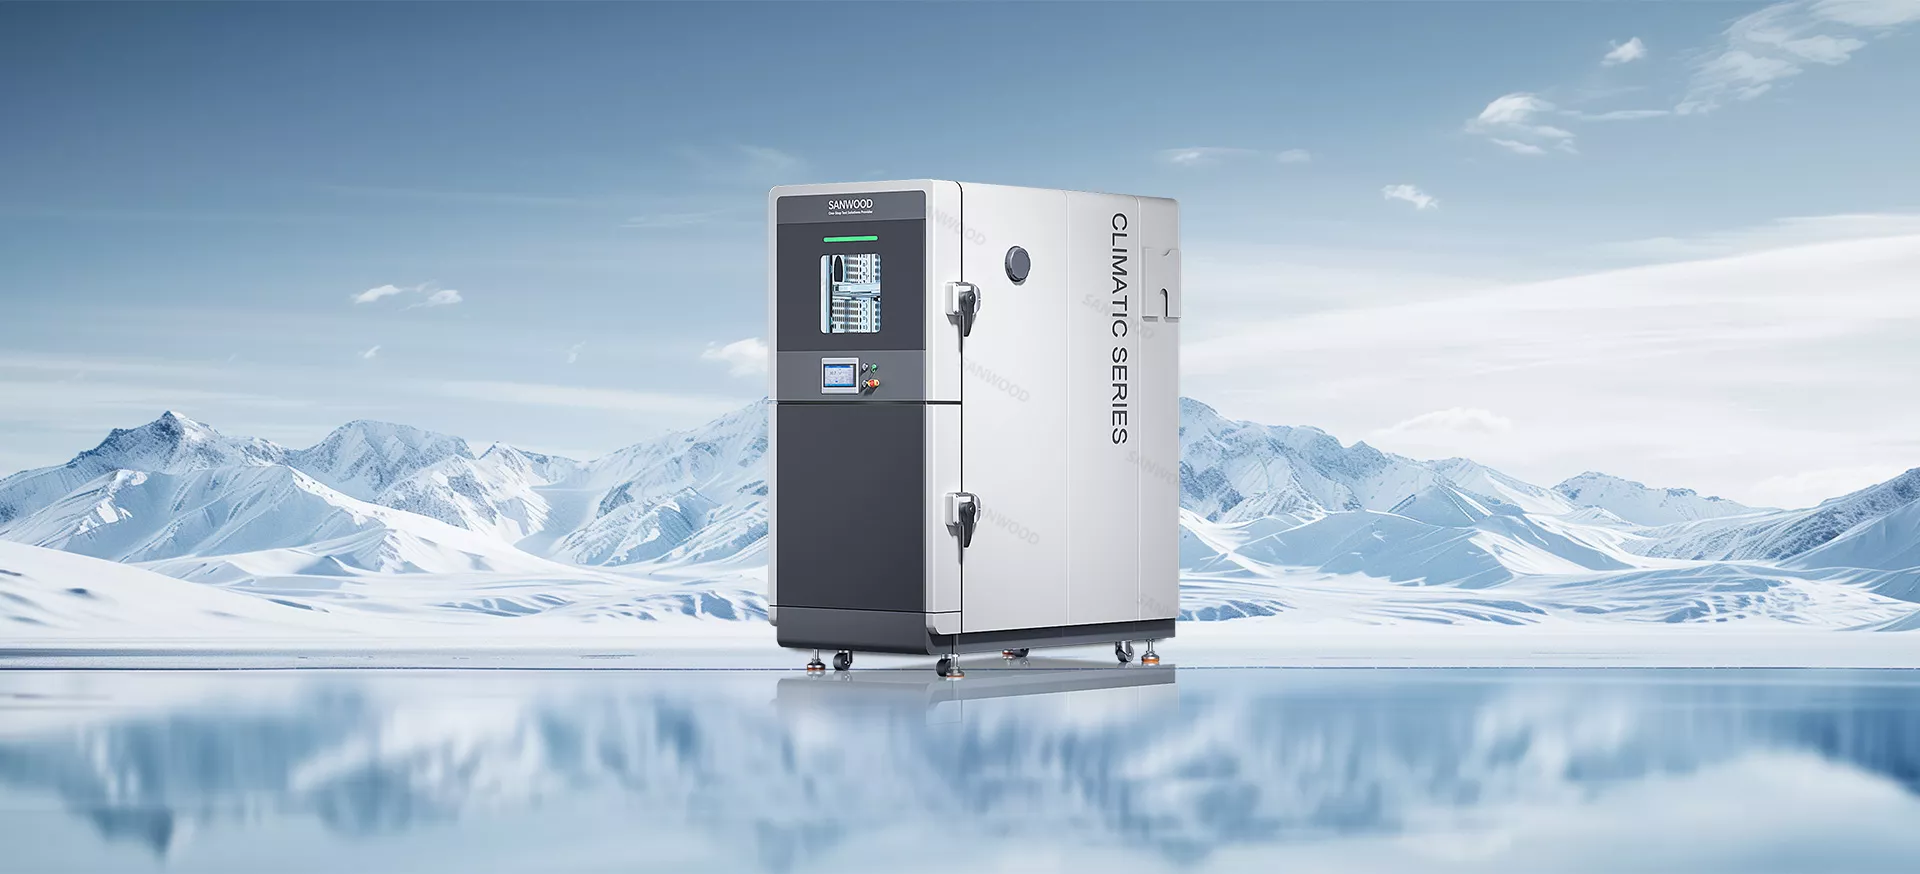
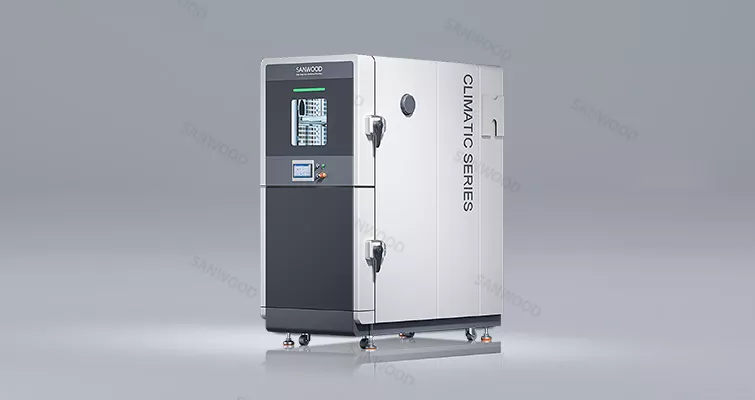
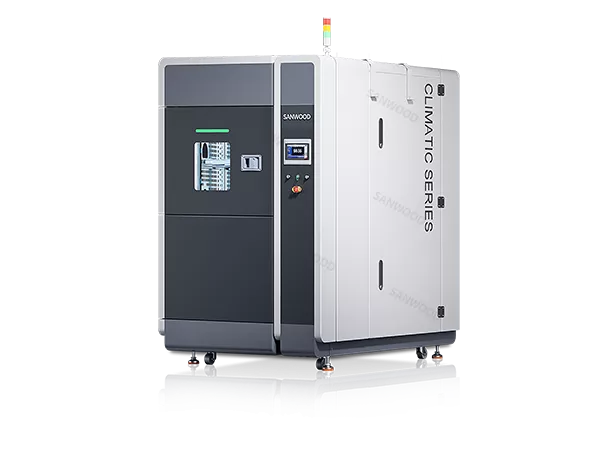
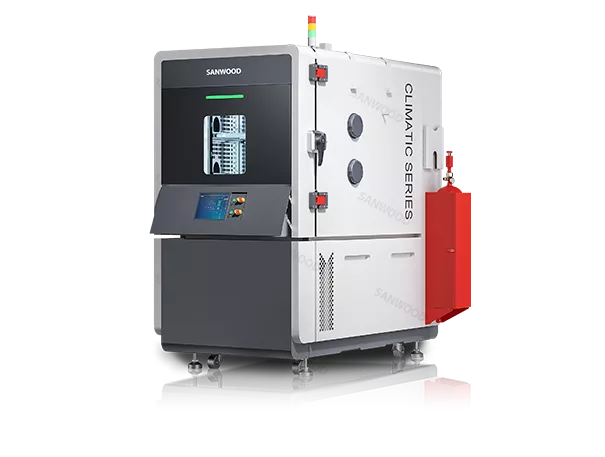
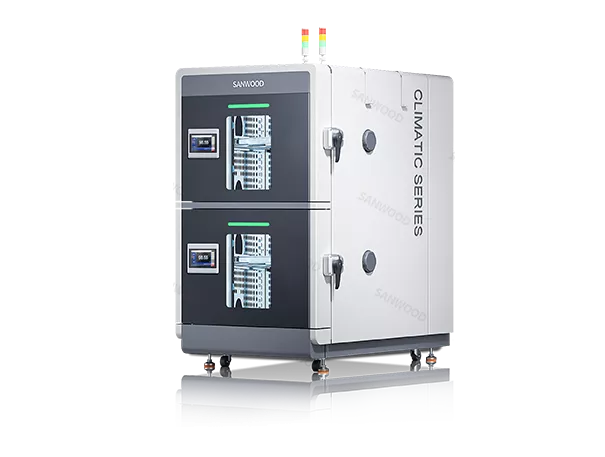
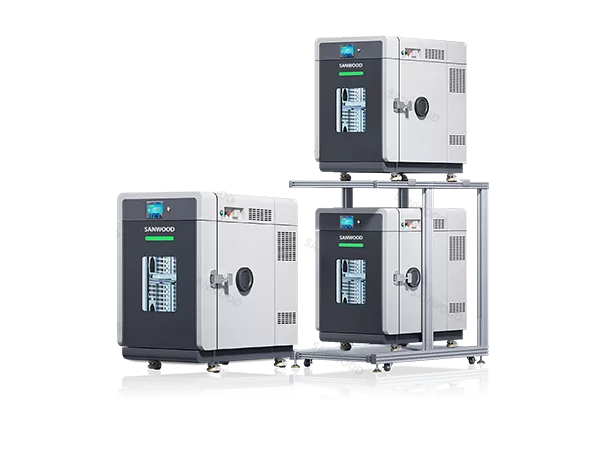
SANWOOD Technology Two-zone Thermal Shock Test Chamber is built for products that may fail when temperature changes suddenly. Instead of changing temperature slowly in one space, the chamber uses separate hot and cold zones and transfers the sample between them to create fast thermal shock.

This test helps engineers find failures related to expansion, contraction, cracking, delamination, solder fatigue, sealing weakness, electrical instability, and material stress. As a specialized environmental test chamber, it is widely used for electronics, automotive parts, aerospace components, semiconductors, metals, plastics, rubber, coatings, adhesives, and industrial products.

Expose Thermal Stress Before It Becomes Field Fail

A two-zone thermal shock chamber that transfers samples between hot and cold zones to verify resistance to rapid temperature change.

Two-Zone Thermal Shock Test Chamber

Two-Zone Design for Real Thermal Shock

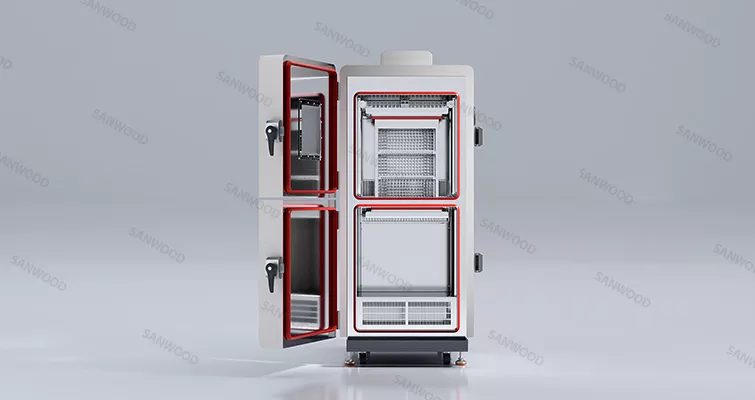
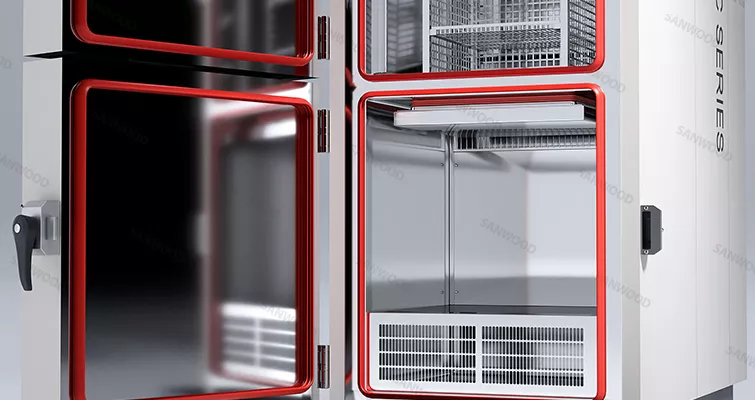
The two-zone structure separates the hot zone and cold zone. The sample basket moves quickly between the two environments, allowing the product to experience rapid temperature change without waiting for one chamber space to heat and cool slowly.

What this design helps achieve:

  • Faster hot-to-cold and cold-to-hot shock exposure.
  • More severe thermal stress than standard temperature cycling.
  • Stable hot and cold zone conditions before sample transfer.
  • Repeatable shock cycles for comparison testing.
  • Efficient structure for samples that do not require a third ambient zone.
  • Practical testing for solder joints, seals, coatings, and assemblies.

For products sensitive to sudden temperature gradients, this method is closer to real thermal shock than slow ramp testing.

Two-Zone Thermal Shock Test Chamber

Test Capability and Key Selection Parameters

A thermal shock test chamber should be selected by more than temperature range. Engineers should confirm transfer time, recovery time, dwell time, sample load, and basket size before choosing a model.

Key test parameters:

  • Hot zone temperature range.
  • Cold zone temperature range.
  • Sample transfer time.
  • Temperature recovery time after transfer.
  • Dwell time in each zone.
  • Cycle count and test sequence.
  • Basket size and sample load.
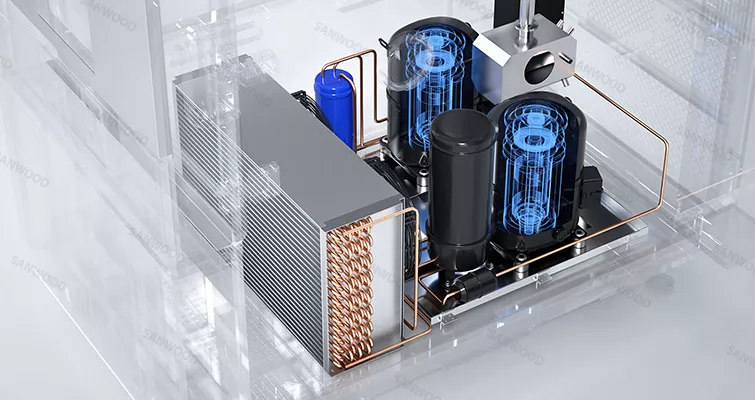
  • Cooling capacity and refrigeration configuration.

These parameters directly affect whether the chamber can meet the required thermal shock profile. A large or heavy sample may need different basket design, stronger cooling capacity, or longer recovery time.

Two-Zone Thermal Shock Test Chamber

Failure Modes the Chamber Helps Reveal

Thermal shock testing is valuable because many defects do not appear under steady temperature or slow temperature cycling. Sudden expansion and contraction can expose weak points in materials, joints, seals, and assemblies.

Typical failure risks:

  • Solder joint cracking or fatigue.
  • PCB and component connection failure.
  • Connector looseness or contact instability.
  • Coating cracking, peeling, or delamination.
  • Plastic and rubber brittleness.
  • Metal stress, deformation, or micro-cracking.
  • Seal leakage caused by rapid expansion and contraction.
  • Performance drift in sensors and electronic modules.

This makes the chamber useful for design validation, incoming material comparison, production reliability screening, and failure analysis.

Two-Zone Thermal Shock Test Chamber

Applications and Product Fit

The chamber is suitable for products that may experience sudden temperature changes during manufacturing, transportation, storage, outdoor use, startup, shutdown, or mission-critical operation.

Typical applications:

  • Semiconductor, IC, PCB, and electronic component testing.
  • Automotive electronics, sensors, connectors, and control modules.
  • Aerospace and aviation components.
  • Metal, plastic, rubber, ceramic, and composite material testing.
  • Coatings, adhesives, seals, and packaging materials.
  • LED, communication, and industrial electronic products.
  • Reliability screening for high-risk components.

Compared with a thermal cycling chamber, a two-zone chamber is better for rapid shock exposure. Compared with a three-zone thermal shock chamber, it is a more direct structure when ambient-zone transfer is not required.

Two-Zone Thermal Shock Test Chamber

Control, Standards Support and Custom Engineering

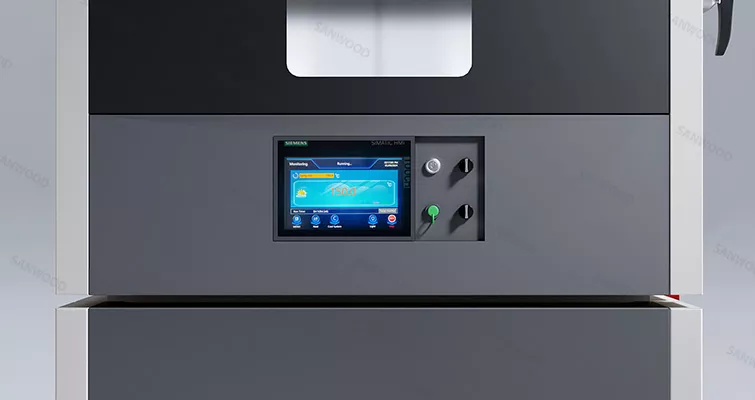
SANWOOD designs the chamber with programmable control for hot zone temperature, cold zone temperature, dwell time, transfer movement, cycle count, alarms, and optional data recording.

The chamber can be configured to support test conditions related to IEC 60068-2-14 change of temperature, MIL-STD-810 thermal shock methods, JESD22-A106 thermal shock testing, and customer-specific reliability procedures.

Customization options:

  • Hot zone and cold zone temperature range.
  • Basket size and sample load.
  • Transfer time and recovery performance.
  • Chamber volume and inner dimensions
  • Communication and data recording.
  • Viewing window and cable port.
  • Refrigeration system configuration.
  • Power supply by destination country.

SANWOOD Technology can provide model selection support, customization guidance, installation assistance, maintenance, repair, and technical service according to project requirements.

  • Basis Data

  • FAQ+

Want to know more? Talk to an expert! Leave a message and a specialist will get back to you.

Information on how we processyour personal data.